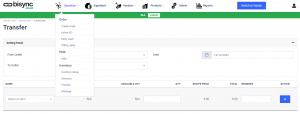
Outlet transfers are designed to help you keep your respective outlet’s inventory correct, from depletion (sender) to receiving (recipient). To use the outlet Transfer function.
Operation > Transfer

In the Setting Panel, select the Outlet you are sending from, select the receiving outlet and date of delivery.
Next, select the inventory you want to transfer, beside raw ingredients, you can also transfer sub-products and finished products to the other outlets. Select the inventory you want to send over, input the quantity and remarks (optional) then click ![]() .
.

You will not be able to add items that you do not have in your storage. When you try to add items that has ZERO available quantity. You will see this alert.

Once you have completed the list of items you want to send out. Click ![]() .
.
For Receiving outlets

To view your receiving items, click ![]() .
.
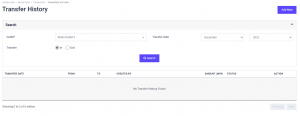
In Transfer History, select your outlet, Select Transfer ![]() . Click
. Click ![]() .
.
Once you see the list of transfers, hover over the ![]() to display the actions. Select
to display the actions. Select ![]() .
.

You will see the View Transfer detail page. In this page, you can Cancel the transfer, Reject the transfer or Receive.
The ![]() is for Transferring outlet that wished to cancel the transfer. The
is for Transferring outlet that wished to cancel the transfer. The ![]() is for receiving outlet that wish to reject the transfer. Clicking on
is for receiving outlet that wish to reject the transfer. Clicking on ![]() will automatically add the items you received into your Inventory quantity and deplete the inventory from the transferring outlet.
will automatically add the items you received into your Inventory quantity and deplete the inventory from the transferring outlet.
A confirmation prompt will be displayed for each of the function, this is to ensure that the action taken is not an accidental trigger but a confirmed action. This is to minimize errors and maintain accurate documentation.

Once you have successfully executed the function. The page will reload to the main Transfer History page.